RasPi – Digital Analog Converter with I2C
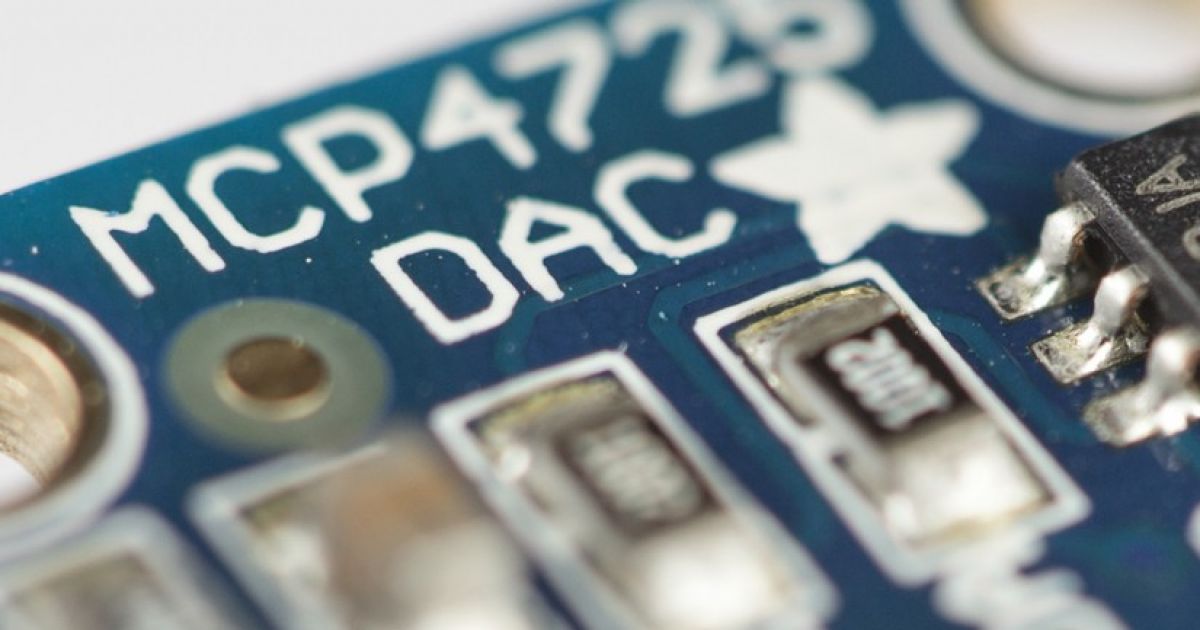
We want to control an external device by using a voltage controlled by the Raspberry Pi. In our case we are using the DAC 4725 which is a great 12bit digital/analog converter and can be controlled by using the I2C interface.
Enable I2C on the Raspberry
First we need to enable I2C because by default it is blocked by the Raspberry.
sudo nano /etc/modprobe.d/raspi-blacklist.confand comment out the i2c part:
# blacklist spi and i2c by default (many users don't need them)
blacklist spi-bcm2708
# blacklist i2c-bcm2708
Next we need to load the modules required for I2C:
nano /etc/modules/
snd-bcm2835
# adding i2c
i2c-dev
i2c-bcm2708
And finally we install the i2c tools:
sudp apt-get update
sudo apt-get install i2c-tools
Now restart the system and after it is back again you can use I2C.
Check if there is some module in place
Using i2cdetect shows you the available devices for I2C.
root@raspberrypi:~# i2cdetect -y 1
     0  1  2  3  4  5  6  7  8  9  a  b  c  d  e  f
00:          -- -- -- -- -- -- -- -- -- -- -- -- --
10: -- -- -- -- -- -- -- -- -- -- -- -- -- -- -- --
20: -- -- -- -- -- -- -- -- -- -- -- -- -- -- -- --
30: -- -- -- -- -- -- -- -- -- -- -- UU -- -- -- --
40: -- -- -- -- -- -- -- -- -- -- -- -- -- -- -- --
50: -- -- -- -- -- -- -- -- -- -- -- -- -- -- -- --
60: -- -- -- 63 -- -- -- -- -- -- -- -- -- -- -- --
70: -- -- -- -- -- -- -- --
root@raspberrypi:~#
In this example we see our DAC being available at address 63h. Now we can directly set a value to the DAC:
i2cset -y 1 0x63 0x0f 0xff
In this case we are setting I2C Bus 1 at address 63h to the value 0xfff
Controlling I2C with PHP
Make sure that PHP can find your i2c tools. So use something like this:
exec('/usr/sbin/i2cset -y 1 0x63 0x0f 0xff';
Also make sure that PHP is allowed to execute I2C controls.
chmode 777 /dev/i2c-1
